
So you got your cute little chicks they are so fun and cuddly and they can live right in the house with you. Your children love playing with them and life is good.

But before you know it they will be getting
feathers and looking a little funny. They will get a little stinky and you will start to feel frantic
about the chicken coop.
And then your husband starts working Saturdays and your dream pallet chicken coop goes away and you need something so much faster.
A
chicken coop is basically a shed with chicken stuff inside. So if you
buy a shed all you have to do is add the chicken stuffy stuff and your
ready to go.
Essential chicken stuffy stuff
Chicken door and ramp
Nesting boxes
Roosts
Ventilation but no draft
Optional but awesome chicken stuffy stuff
Windows that open
Paint
Insulation
For us insulation was a must. North Dakota winters can get cold! Plus, I'm a wimp in the cold, so I think my animals are wimps too. And after I spend all this money and time on these chickens I would hate for them to die because it got too cold on a blizzardy winter night.


Insulated is an easy step, just shove it between the framing. Anyway you can. It's a chicken coop, it doesn't have to be perfect.

 |
| Our shed came with a vent in it, lucky us! One less thing for us to do! |
Next cover the insulation with wood of some kind. Fancy mahogany, red cedar, hand carved works of art. Doesn't matter just make sure it's all covered, you don't your chickens eating the insulation. We used plywood, cause it's slightly more cost effective than mahogany.
My next job was to paint paint paint. I used deck paint because that stuff is strong! And it's meant to take a lot of weathering. So it stands up well to chickens. The plywood sure sucked up a lot of paint. This 8x8 shed took nearly 3 gallons of paint!
My handy hubby added the roosts...and I painted that too.

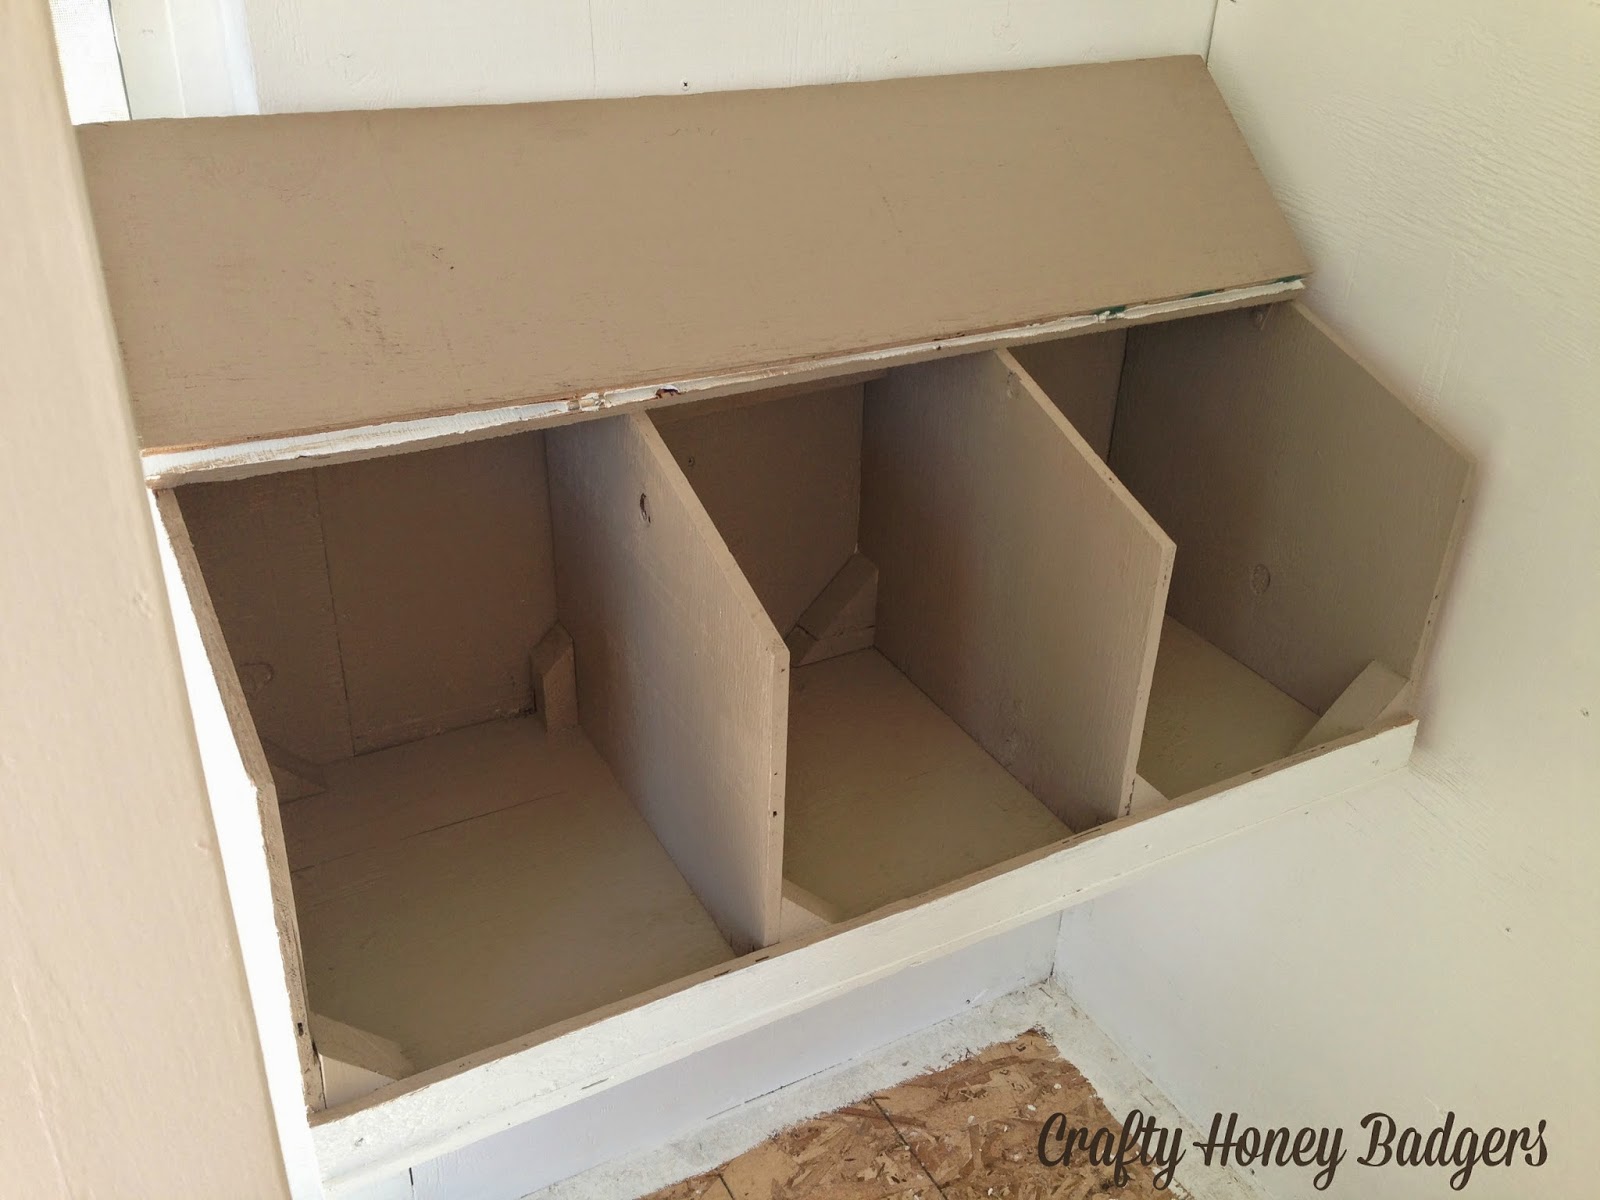
Next he added the nesting boxes...and I painted them too.

I painted the inside a dark brown so it would make a darker spot for the hens to lay their eggs. Look the lid even lifts up for easy cleaning!
After my husband built the framing for the partition I painted that too. Starting to get the theme? I painted every bit of wood on the inside to protect it from rotting away due to moisture.

We had some leftover laminate flooring from our downstairs bathroom so we added that to the chicken side.

Now we are getting close to done! We added chicken wire to the partition framing and a door.
 |
| We have a shelf above the chicken side for storing stuff. |
Then quick! Lock your kids in!

The girls loved it and wanted to have a sleepover out there, they settled for spreading some straw around for the chickens.

Tada! Add food, water, and chickens!

Now go air out your garage where the chickens used to be...it stinks, or at least mine did!
And now you can see we have awesome storage on the 'human' side of the coop. On the other side there is room for a few straw bales. And sometimes chickens use the human door too.

Our beautiful coop!


No comments :
Post a Comment